Localization of applications has its complexity which especially grows when interaction is required between translator and programmer areas. Microsoft Visual Studio 2005/2008 supplies powerful globalization features and can be used as localization tool for applications. But even from programmer's point of view this power often catches programmer to a trap — especially due unintentional resources duplication and culture-centric UI resources branching. From translator's point of view Microsoft Visual Studio is too complex to learn at all. So I decided to create a tool that makes a link between programmer's and translator's worlds. Before this decision was made I had analyzed some existing tools — most of them were even more complex and powerfull than Microsoft Visual Studio in localization aspect. Rest of them were pretty simple and useless at the same time. Most of simple tools just crashed with exceptions without doing any practical job for me. Some tools were self-locked without data export feature.
I had following intentions creating Easy Localizer tool:
Having these intentions written on the peace of paper I made some tool design decisions to meet my aims.
The latest product version is 1.3.0. You can obtain the freshest installation package of Easy Localizer tool from here . Note that .NET Framework 3.5 or higher must be installed also; otherwise Easy Localizer setup will redirect you to place where it can be obtained.
Easy Localizer software is distributed as shareware, so you can use it free of charge.
EASY LOCALIZER IS DISTRIBUTED "AS IS". NO WARRANTY OF ANY KIND IS EXPRESSED OR IMPLIED. YOU USE AT YOUR OWN RISK. THE AUTHOR WILL NOT BE LIABLE FOR DATA LOSS, DAMAGES, LOSS OF PROFITS OR ANY OTHER KIND OF LOSS WHILE USING OR MISUSING THIS SOFTWARE.
Let's examine Easy Localizer tool in action.
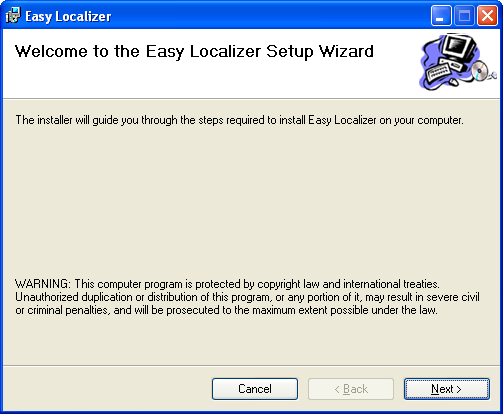
0. First of all, download and install Easy Localizer tool.
After some easy steps you will have Easy Localizer installed on your machine.
1. Run Easy Localizer tool through Start button → All Programs → Easy Localizer.
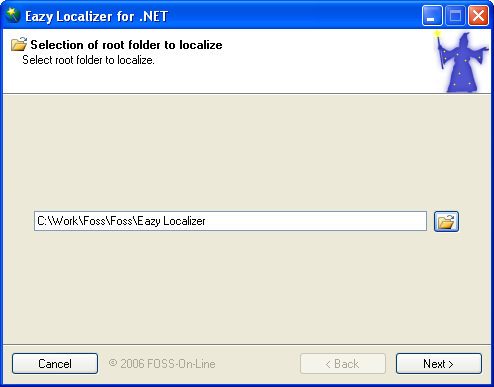
2. Then we need source code of .NET application to localize. Application must have all windows forms 'Localizable' property set to true and all in-code strings delivered to corresponding resources file(s) (.resx). In other words, application should be prepared for localization process. Let's take Easy Localizer itself as sample localizable application.
WARNING! Easy Localizer source code is not available within Easy Localizer installation bundle.
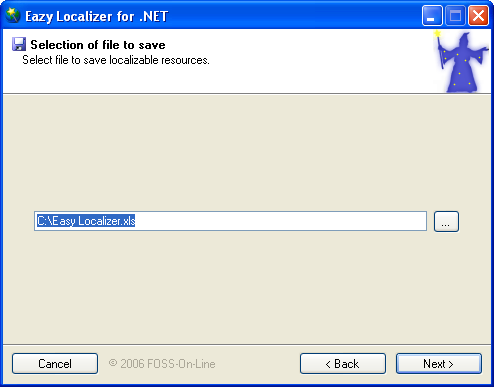
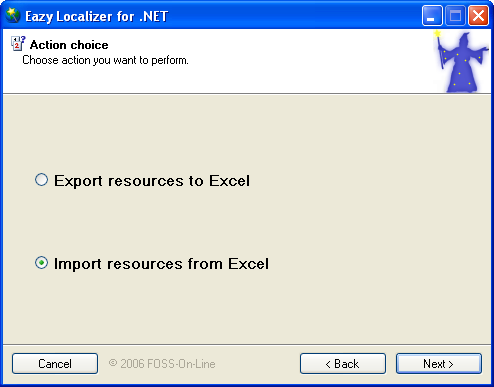
3. Then choose action you want to be performed. We want to export localizable data to Excel now.

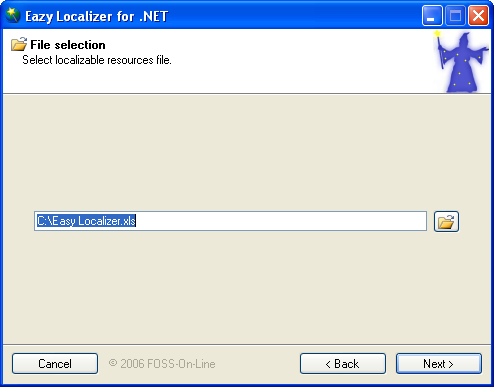
4. Select file where you want localizable data to be saved.
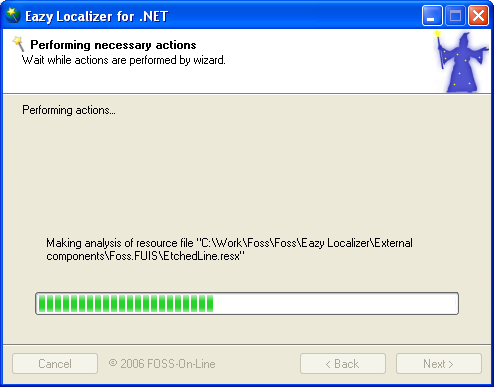
5. In this step wizard is performing actions for you.
6. At the finish we had all actions performed by wizard. Check "Open Excel..." and "Run wizard once again" boxes.
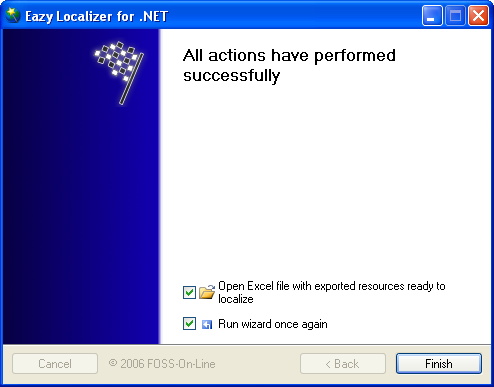
Export process has been finished. Now it's time to localize. After Finish button press, Microsoft Excel window will appear:
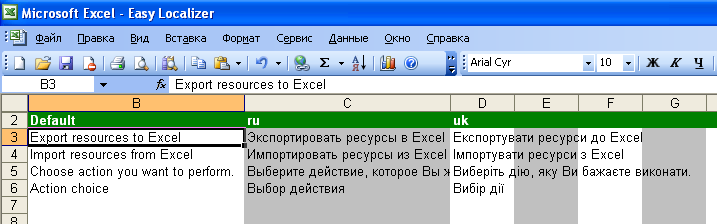
As you can see, the first dark green header row contains columns with identifiers of locales. Each column is responsible for one locale. And each row is responsibe for one item in resource file. You can add new or reorder existing locales just by manipulating with columns and cells. For example, to add new locale you need to write locale name in dark green header of the next free column and then fill the rows of that column with translated text.
WARNING! Exported Excel file has hidden cells purposed for internal usage by Easy Localizer tool. You can show them by Unhide command from Microsoft Excel context menu. Don't edit cell values of those items.
After editing of Excel file is done, save file and close Microsoft Excel application. You can apply changes in Excel file to resource files of your project by using wizard in import mode. Let's make a sample import process.
7. After Microsoft Excel is closed switch to Easy Localizer window.
8. Then import action must be selected.
9. Select Excel file you want to import from.
10. In this step wizard is performing actions for you.
11. Import process has finished successfully.
© Oleksiy Gapotchenko, © FOSS-On-Line
Contributors: Andrey Tkachenko
Your feedback is greatly appreciated and can be delivered to O.Gapotchenko@foss.kharkov.ua.